
Rehaunted Investigation Walkthrough
A method for the house: look, sweep, re-scan, radio, then synthesize — not a spoiler sheet of invented lock codes.
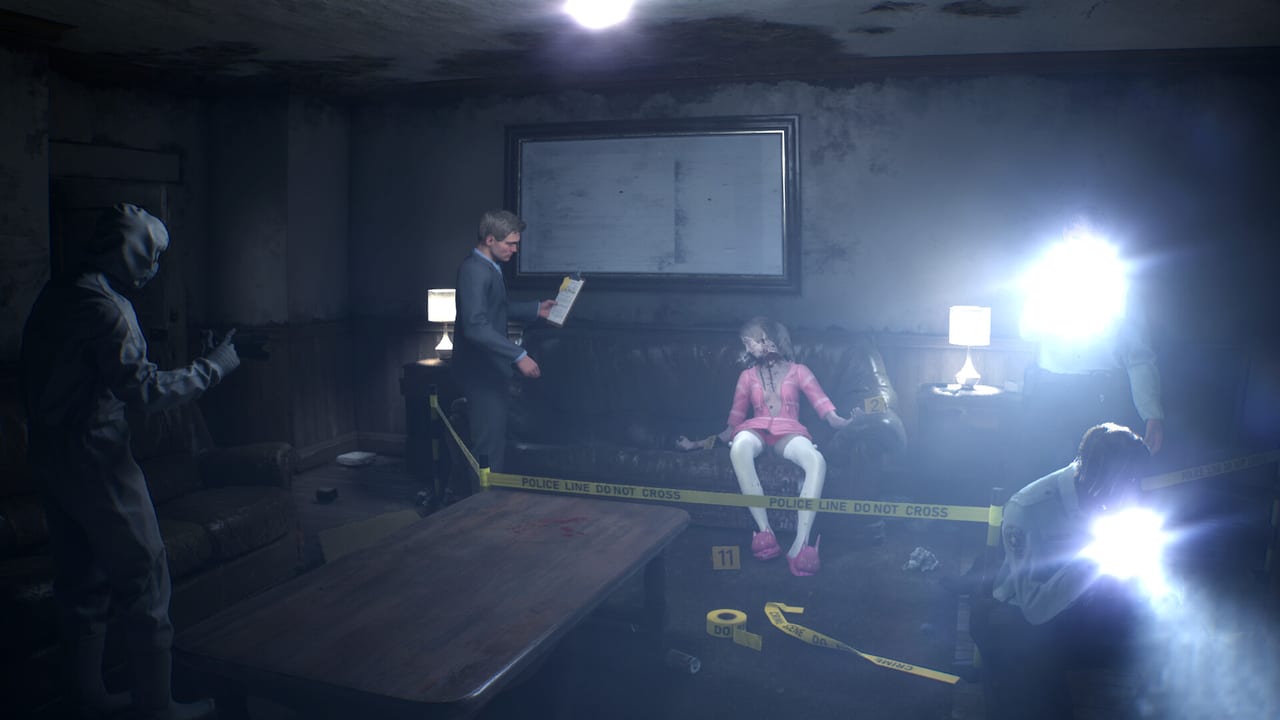
This is an investigation walkthrough for Rehaunted, not a locked-door answer key. Cauchemar has not published a room-by-room solution list, and this wiki will not invent one. What we can document is a repeatable order of work that matches how the game is sold: a house that hides a piece of the night in every room, tools that reveal what naked eyes miss, a radio partner who argues with you, and an evidence board that is supposed to hold contradictions.
If you have not launched yet, start with Getting Started. If a chase is ending your runs, jump to how to survive. Tool behavior is unpacked in how to investigate. Come back here when you need a sequence, not a lecture on the magnifier.
Launch players should also treat this page as perishable. Radio timers, stuck menus, and entity spawns in locked rooms are already in the wild. When a prompt or a door behaves like a bug rather than a puzzle, check tips and known bugs and Steam discussions before you burn an hour on a “secret” that is actually a patch candidate. Official notes belong on the updates hub.
How to use this walkthrough
Work in layers, not in a speedrun line. Each layer is a full pass of the spaces you can currently enter:
- Entry and baseline — arrive, establish what the case is supposed to be, and note the house as a crime scene.
- Methodical sweep — every reachable room, naked-eye only, with the camera for anything that might move or get overwritten.
- UV and magnifier passes — the same rooms again, because paranormal traces and some clues often exist only under those tools.
- Radio and board synthesis — tell the partner what you actually have, then pin disagreements instead of forcing a single story.
You will interrupt this loop whenever the tall supernatural woman hunts you. That is expected. Survival is a pause, not a new genre. After you are safe enough to look again, resume the layer you were on; do not assume a chase “cleared” a room.
Phase 1: Entry and baseline
Connor Raines is here because a young woman was found dead in her home. Hold that sentence loosely. The store pitch is that evidence will contradict itself and that the game will not hand you one official answer. Your first job is not to name a killer. It is to write down what the scene claims before you start correcting it.
On entry, slow down. Learn the tool wheel while you still have nerve. Confirm that UV, camera, magnifier, and radio all respond. If the radial menu sticks, that is a known launch problem — do not start the case already fighting the UI. See tips and known bugs.
Baseline notes should be boring on purpose: what is in the open, what is boxed or covered, which doors open, which doors do not, and where the radio is willing to talk. Photograph the obvious. Later contradictions only matter if you can prove what “obvious” used to be.
Phase 2: Methodical sweep
Once you can move, sweep every room you can enter before you tunnel on a single object. “Every room hides another piece of the truth” is marketing language that is also a good rule. Skipping a side space because it looks domestic is how you miss fingerprints, recordings, and belongings that refuse to match the blood you already logged.
Sweep rules that hold up without spoiling specific puzzles:
- Clear a space in a circle, not a straight line to the shiniest prop.
- Interact with personal objects even when they feel like set dressing. The case is built from belongings as much as from wounds.
- If a door is locked, mark it and leave it. Do not camp inside on the assumption that a lock equals a safe room. Launch reports say the entity can spawn in locked rooms; how to survive treats that as a survival fact, not flavor.
- If you find a recording or a written fragment, listen or read it through once, then photograph or note it. Do not immediately rewrite your whole theory. You do not have the rest of the house yet.
When the sweep stalls — no new doors, no new objects — that is the signal to change tools, not to wander in circles hoping for a scripted shout.
Phase 3: UV and magnifier passes
Naked-eye Rehaunted is incomplete by design. Do a UV pass of every room you already “finished.” Look at floors, edges, glass, fabrics, and anything that would hold a stain or a print. The UV flashlight is for traces the cleaning (or the haunting) did not want in ordinary light.
Then do a magnifier pass. Studio messaging and the kit design agree: paranormal details and some clues are often only visible through the magnifier. Treat that as a third map of the same geometry. A wall that was blank can be a message. A body of evidence that looked medical can look something else when enlarged.
Do not mix these passes into a panic swirl. UV the room. Then magnify the room. If a chase hits mid-pass, survive, return, and finish the pass. Half a UV sweep is how people swear a room was empty.
The camera still matters here. Photograph what only the tool showed. Your future self on the evidence board cannot remember a glint.
Phase 4: Radio, board, and knowing you are “done”
After two or three rooms of new traces, talk. The walkie-talkie is how the second detective challenges your assumptions. Pick dialogue that matches documented evidence. If a timed prompt is missing options, retry it; that is a reported launch bug, not a morality test you failed.
Then go to the evidence board. The board is not a quiz that turns green when you are canonically correct. It is where you are allowed to hold two stories at once: the blood that says one night, the recording that says another, the belongings that do not belong to either. How to investigate is the deeper kit page; this walkthrough only insists that synthesis is a phase, not an afterthought at credits.
You are close to done with a layer when:
- Every currently open room has had naked-eye, UV, and magnifier attention.
- Locked doors are listed, not forgotten.
- Radio conversations reflect the newest contradiction, not the theory you walked in with.
- The board shows disagreement instead of a single tidy timeline.
You are done with the game when you can state a conclusion you are willing to own. Rehaunted will not grade that conclusion like a detective exam. Endings explained covers why this wiki will not publish a numbered ending list. If you want a second opinion on whether the loop is worth your $8, read the launch review.
If you stall after all four phases, you are probably missing a tool pass, a radio beat, or a bug. Re-run UV and magnifier on the last “empty” room, retry the last radio prompt, and look at Steam discussions before you assume the house owes you a hidden basement with a name we made up. Then return to the Guides Hub for the page that matches the actual blocker.
Frequently Asked Questions
Quick answers to the most common questions.
Will this walkthrough solve every puzzle?
No. It is a layer order — entry, sweep, UV/magnifier, board — because public materials do not support a room-by-room answer key. Use how to investigate for the tools themselves.
I cannot open a door. Am I stuck?
Maybe, or it is a lock you have not earned with evidence yet, or it is a launch bug. Do not hide in locked rooms; see how to survive and tips and known bugs.
When should I use the radio during the walkthrough?
After you have new, documented traces — not after every drawer. If options are missing on a timer, retry the prompt and keep playing the case.
How do I know I finished Rehaunted?
When you can own a conclusion. The game does not hand you one official answer. Endings explained describes that design without inventing an ending count.
Should I follow a video instead of this method?
Use video for feel, not as a substitute for looking. Getting Started embeds IGN’s seven-minute gameplay capture if you want motion reference before you sweep.